Overview
Hangout.audio allows you to apply AutoEQ to match your headphones or IEMs to my personal target curve—letting you hear exactly how my preferred EQ signature sounds across different audio gear. By limiting the correction range to 20Hz – 8000Hz, you preserve the natural ultra-high frequency response of your device while tailoring the fundamental tonal balance to my taste.
This guide uses the graph tool popularized by reviewers like Timmy Tuned and Gizaudio, which features a built-in database of frequency response measurements from sources like Crinacle and Squig. Rather than correcting to a "reference" standard, you're AutoEQing to my own preferred frequency response—making it easy to maintain consistent sound signature across multiple headphones or IEMs without manually tuning each one.
Prerequisites
- Web browser (Chrome, Firefox, Edge recommended)
- My target curve file (.txt or .csv format: Frequency Hz | SPL dB)
- EQ software ready:
- Windows: Equalizer APO + Peace GUI
- Android: Wavelet app
Step-by-Step Instructions
- Navigate to https://graph.hangout.audio
- The interface will load with a blank graph area
- Familiarize yourself with the left sidebar (database) and top toolbar
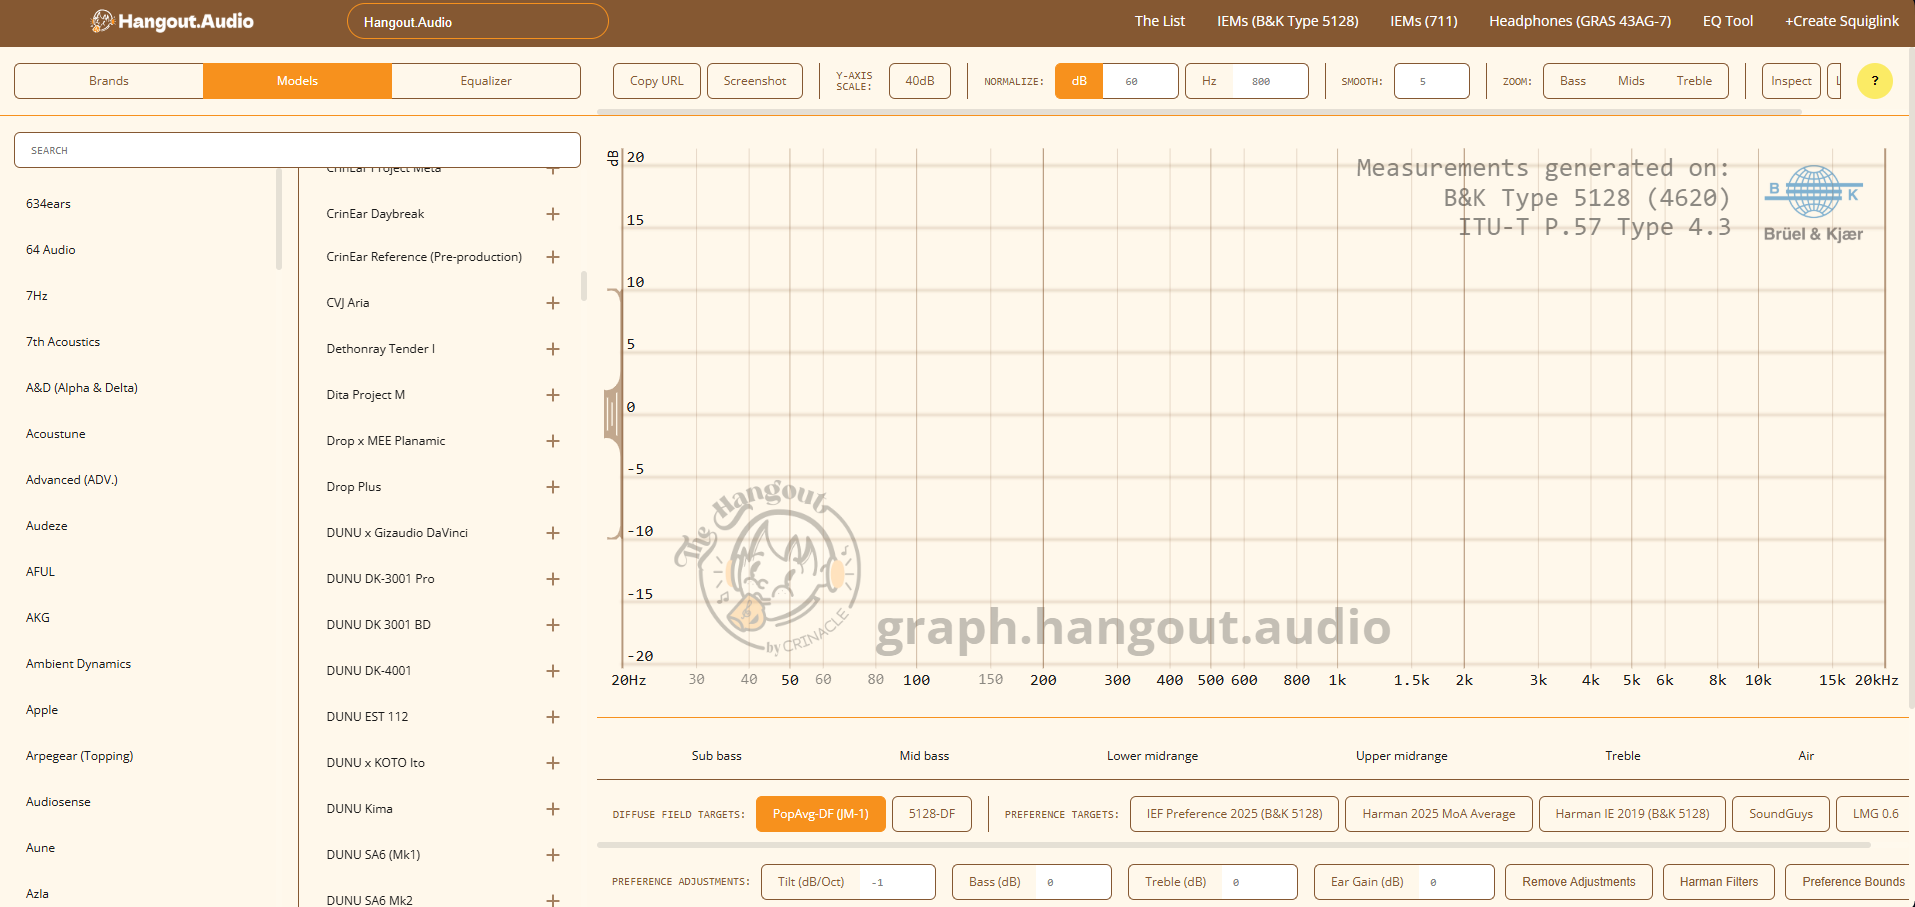
- Look at the left sidebar for the database search
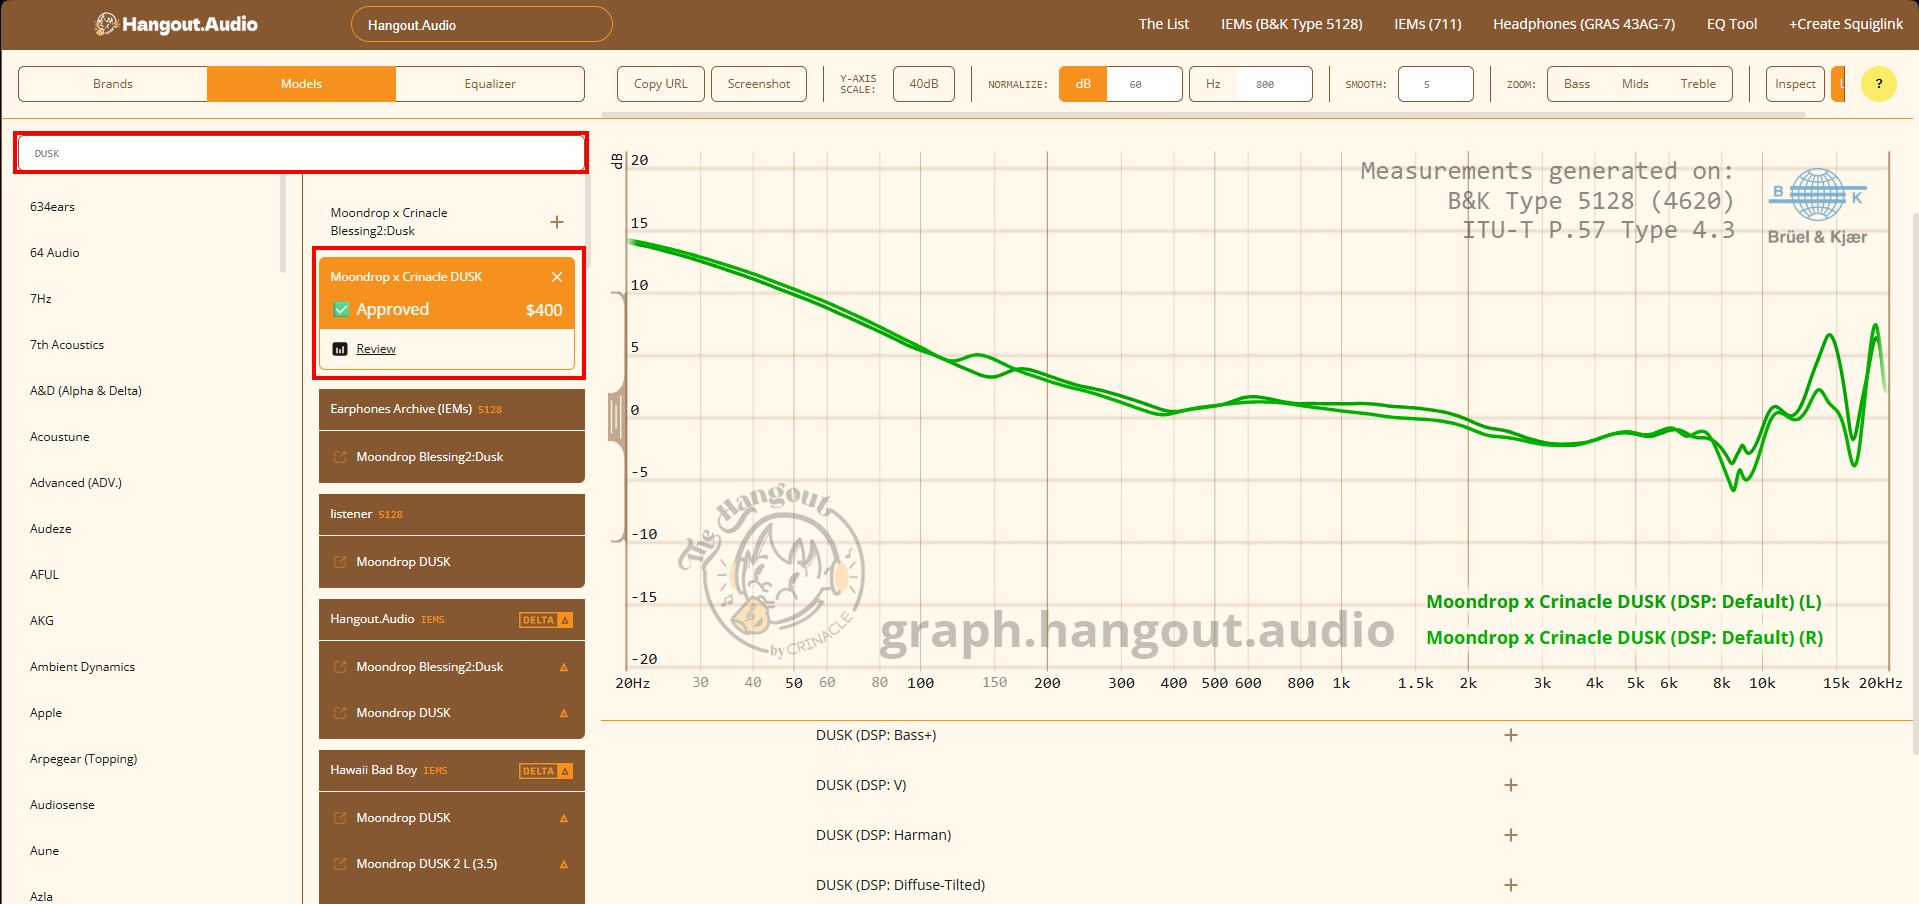
- Type your IEM/headphone name in the search box
- Click on your device from the dropdown results
- The frequency response graph will appear in the main area (usually in blue)
- If multiple measurements exist, select the most recent or trusted source (Crinacle, Squig, etc.)
- Look for the tab bar at the top of the graph area (or right panel)
- Click on the "Equalizer" tab
- The interface will switch to EQ mode showing:
- Your selected headphone curve (dotted line)
- Target curve upload area
- Filter calculation options
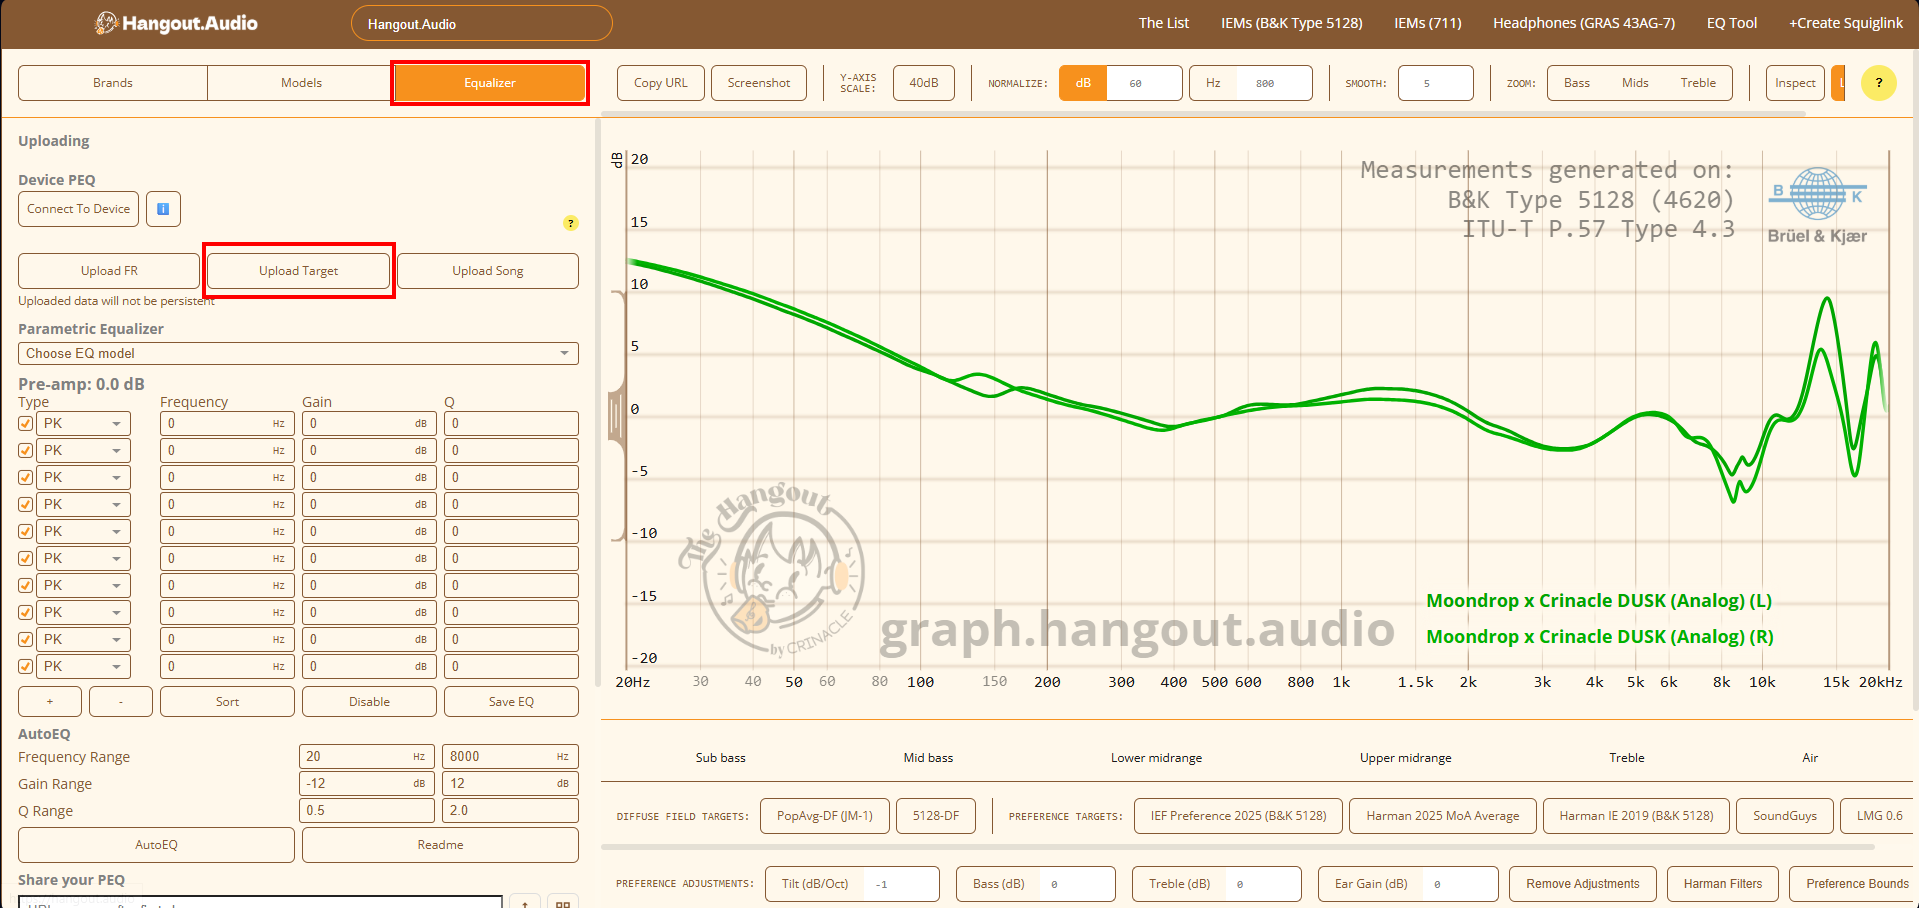
- In the Equalizer panel, find "Upload Target" or "Import Target"
- Click "Choose File" or drag-and-drop your target curve
- File format requirements:
- Plain text file (.txt or .csv)
- Two columns: Frequency (Hz) and SPL (dB)
- Space, tab, or comma separated
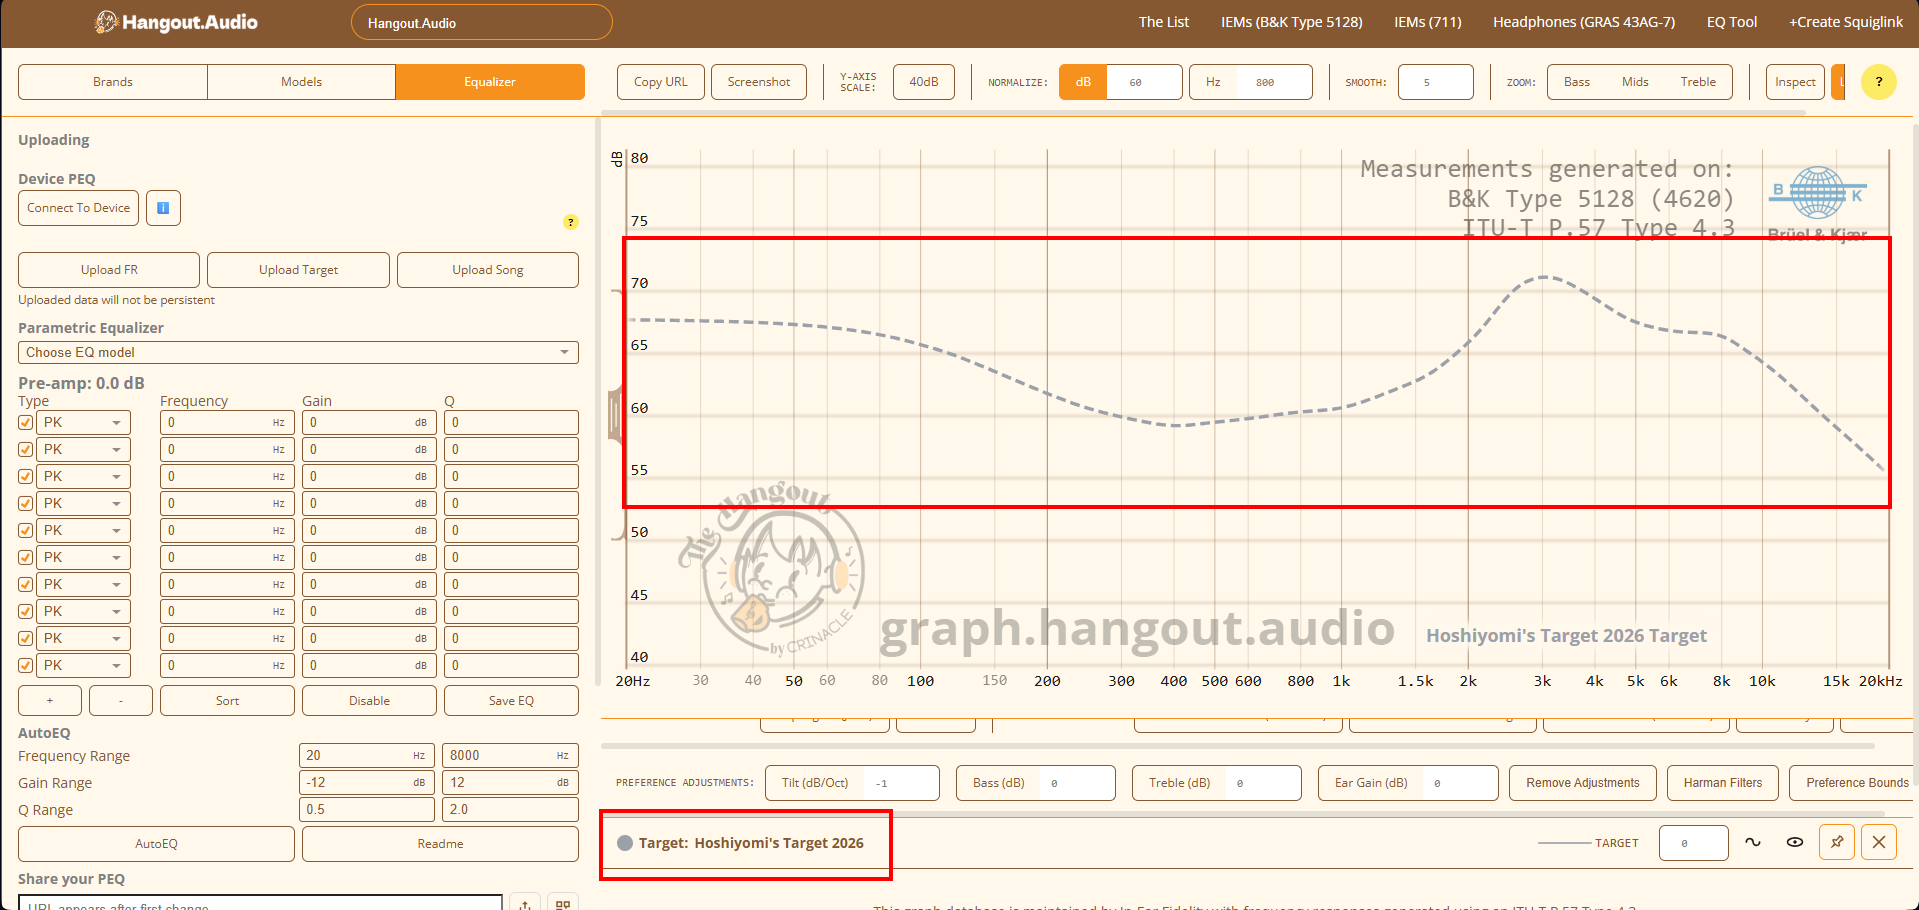
- No headers (or headers starting with #)
- The target curve will appear on the graph (usually in red/orange)
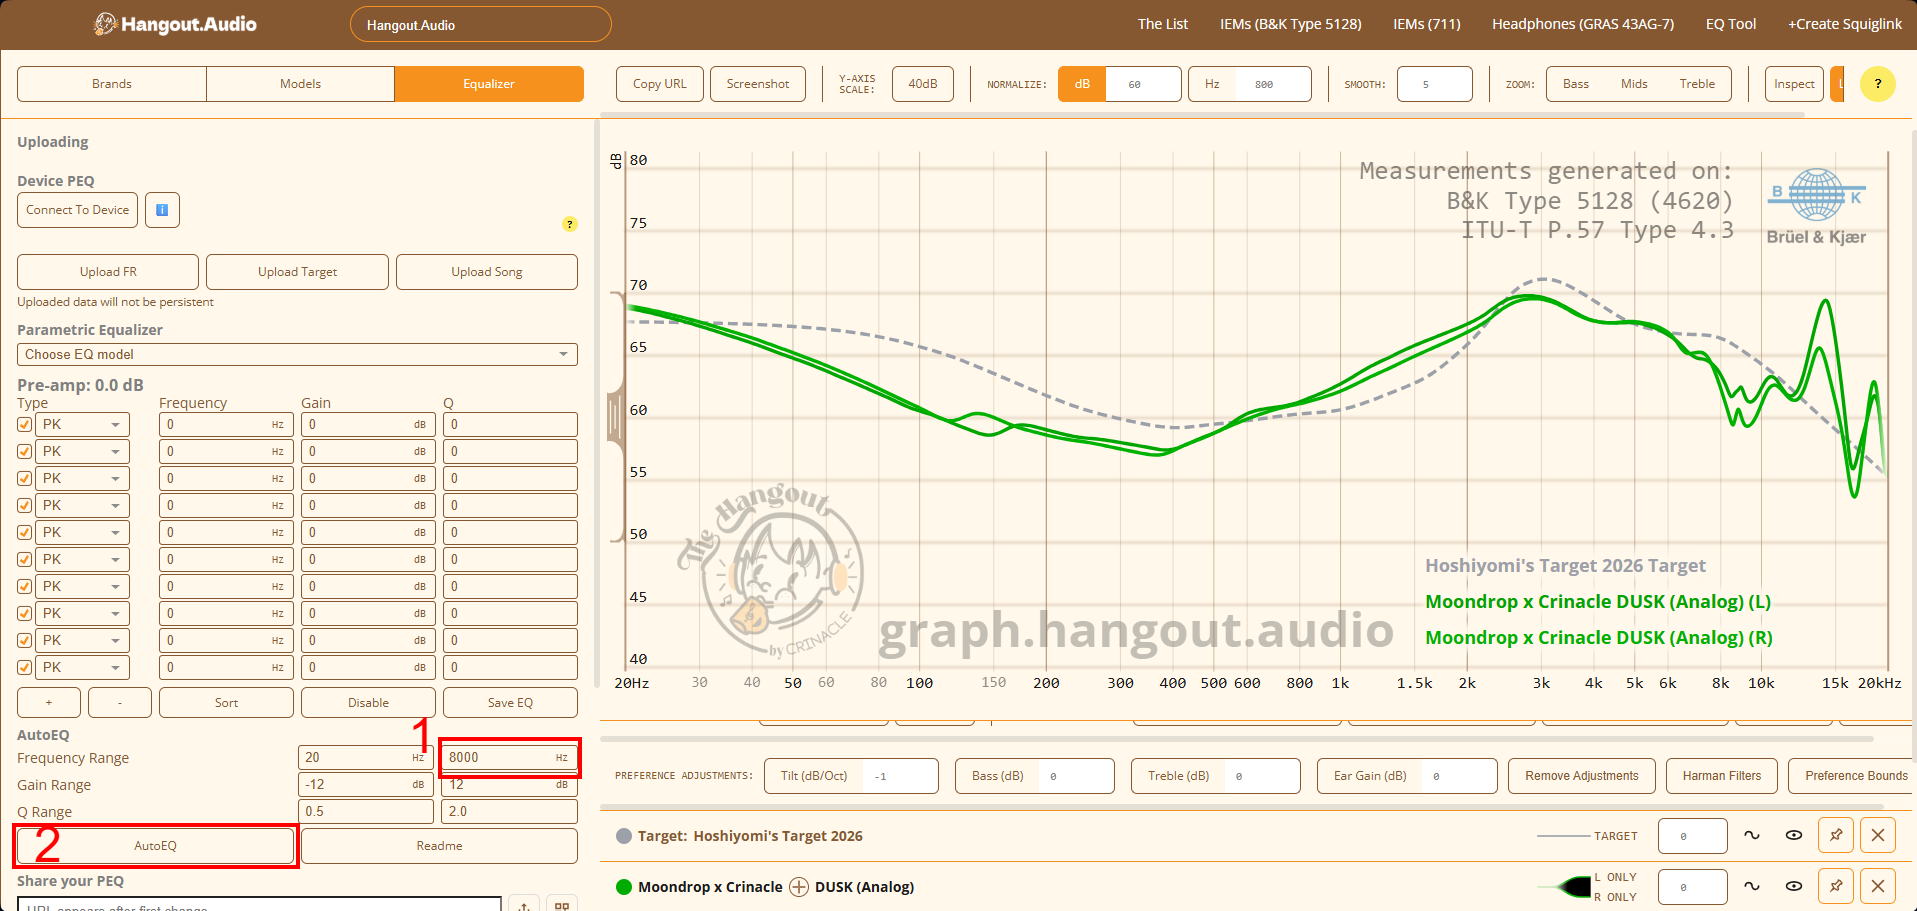
Configure the AutoEQ to only calculate corrections within your specified range:
- Set Min to 20 and Max to 8000 (crucial step - default is usually 20000).
- Click the "AutoEQ" button and wait for the calculation.
- Review the green predicted line against your red target curve.
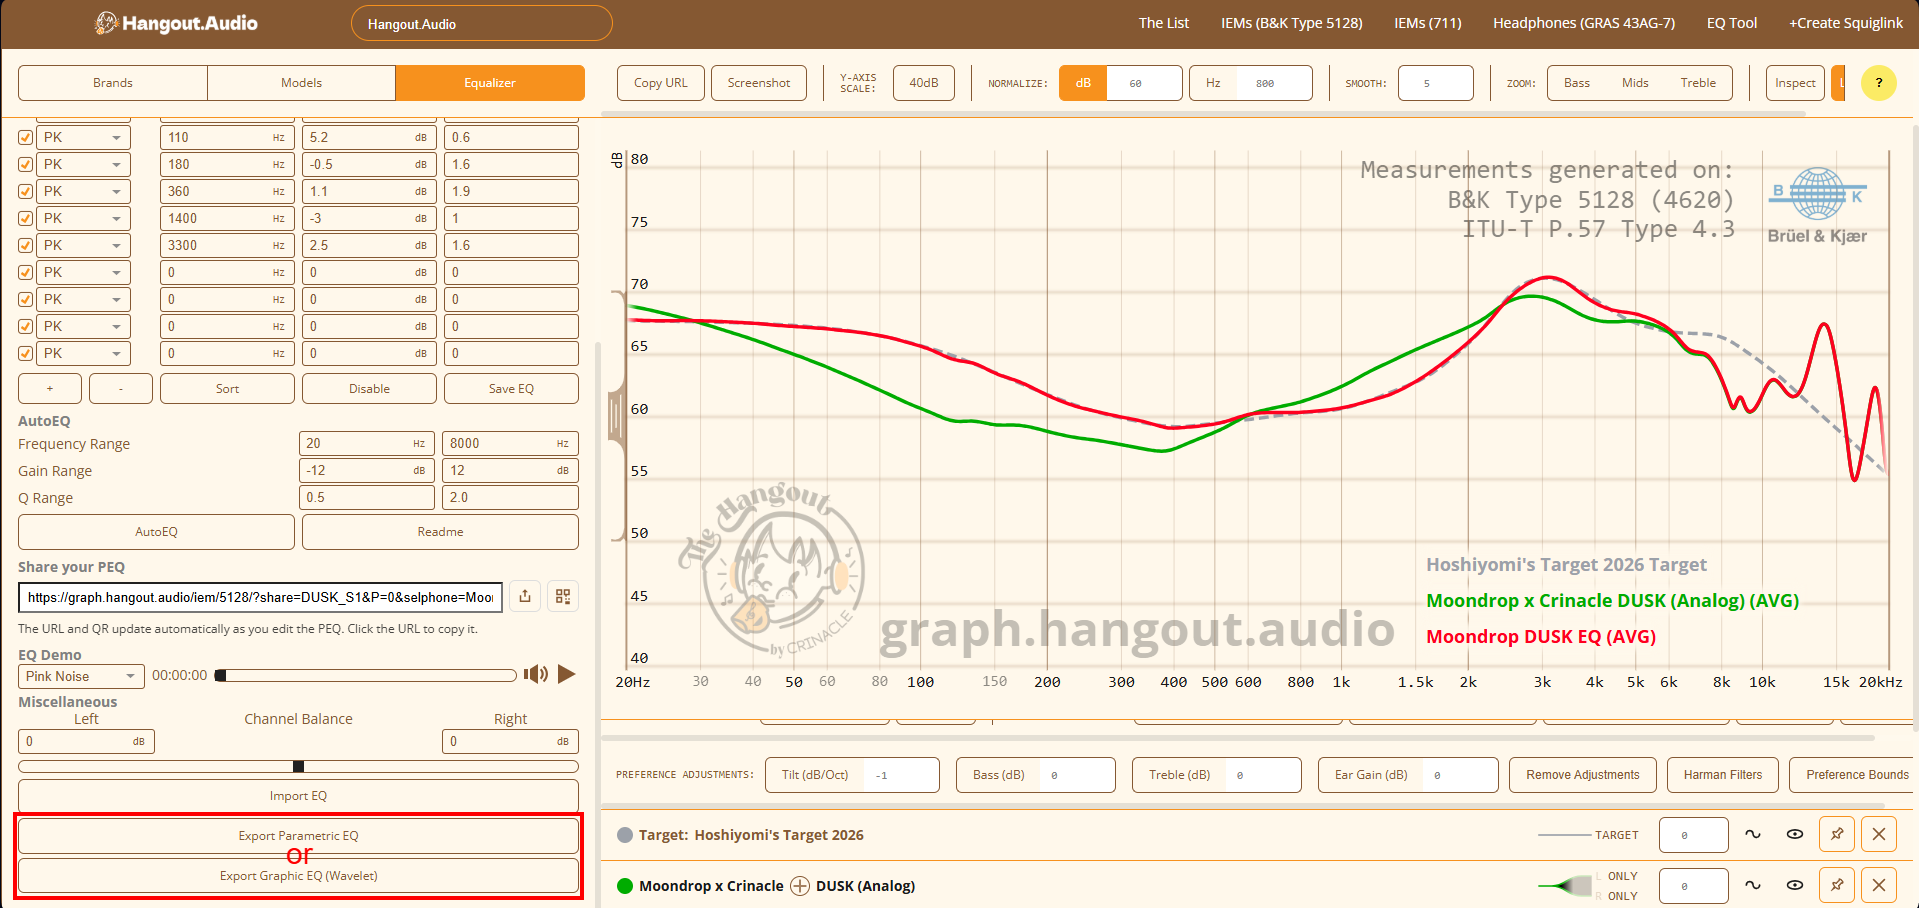
- Find the "Download" or "Export" buttons below the graph to save
your generated filters:
- For Windows (Peace APO): Click "Parametric EQ" or "Peace"
- For Android (Wavelet): Click "Graphic EQ" or "Wavelet"
For Windows (Peace APO):
- Open Peace Equalizer (runs on top of Equalizer APO)
- Click "Import" → "From file"
- Select the downloaded .txt file
- Verify filters loaded correctly in the interface
- Click "On" to enable EQ
For Android (Wavelet):
- Open Wavelet app
- Go to "AutoEQ" section
- Tap "Import" and select the downloaded file
- Or manually copy-paste the values into Graphic EQ bands
- Enable "Graphic EQ" toggle
Filter 2: ON PK Fc 220 Hz Gain -2.1 dB Q 1.20
Filter 3: ON PK Fc 850 Hz Gain 1.8 dB Q 2.00
- PK = Peaking filter (most common)
- LSC = Low Shelf (for bass adjustments)
- HSC = High Shelf (for treble adjustments)
- Fc = Center frequency
- Q = Width (higher = narrower)
Wavelet Format (Graphic EQ)
Fixed 10-band or 15-band format:
62: +1.2
125: +3.0
... (frequency: gain)